How to Build Welding Lead Reels - Quick & Easy Guide
Last Updated on
They also save on storage space and make it more comfortable to transport equipment without incurring any damage.
Having to carry and store such a large and bulky load is not only naïve but also a painstaking job. For this reason, reels need to be made from a material that can hold the reel for efficient storage and effortless transportation. Having an organized and well-maintained working area will help you reduce downtime because you focus entirely on your project, improving efficiency and quality. Read on while we explain the most efficient method for building welding lead reels.
Tools and Materials Used to Make a Welding Lead Reel
When planning to make a welding lead reel, below are the supplies you require:
- A study rod or piece of metal or wood to be used to wrap the reel around
- 2 identical shaped metal or wooden plates
- A hand crank
- Drilling machines, bolts, and nuts
How to Make Welding Lead Reels
Below is the step-by-step guide on making an excellent welding lead reel:
- Use two steel plates that measure ¼ inch to make the bases.
- Drill holes on the plates approximately the same diameter as those of the anchor bolts you intend to use. Ensure the drilled holes are spaced about an inch away from each other.
- Place and fix the rod in between the two drilled plates and weld it to coin it in place.
- Tip the reel to one side and ensure it rests on the edge of the steel bases.
- Position the rim in your desired posture on the post and weld the bar and the rim together.
- Finish by placing the welding lead reel in an upright posture in readiness to roll up the welding wires.
How to Hook Up Welding Lead Reels
When welding, you require a lot of tools and hardware to complete a project. Besides reducing downtime, hooking up welding reels also helps welders avoid accidents that may occur due to clumsiness. Hooking up can also be used to wrap up welding tools and materials, making it easy to locate them for a project.
Here is the procedure for hooking up welding lead reels:
- Ensure that the welding reels are separated from each other and are in a nonconductor state. Alternatively, you can insulate them and turn off the power.
- Unplug the connector and the pin from the side spring on the welding lead reel’s wheeler.
- Roll over the wheel to loosen out the thread from the reel. Only take out the required length of the welding cable.
- Plug in the negative welder connector to the lead’s connector on the reel’s side.
- Hook in the positive welder lead to the welding machine.
- Begin the welding process.
- Once you finish welding, unplug the welder lead from the connector on the reel.
- Roll over the reel in the opposite direction to tuck the cable onto the reel and plug in the locker pin on the reel’s wheeler.
- Cover and store your welding lead reel in a clean, cool, and dry place.
Important Tips About Welding Lead Reels
- Always ensure your reels stay insulated from the lower artifact deck.
- Ensure both reels are kept separate from each other.
- You can use plastics to insulate the bolts in the big wing. They are crucial for tucking the positive lead connector.
- Ensure you hook the positive lead to the insulated top reel. Hook the negative lead to the bottom reel.
- Improve on safety while using welding lead reels by grounding or earth-flooring the trailer frame mount.
- When storing your welding lead reels, switch off any electrical powers. This is essential in preventing unnecessary accidents such as fires or electrocutions.
Advantages of Using Homemade Welding Lead Reels
1. They Prolong The Life of Welding Cables
Most welding equipment is costly, and welding cables are no exception. Whenever you invest in a good-quality cable, you would want it to last for a very long time, hence the need to use a welding lead reel.
2. Convenience
Cable reels are suitable for storing and transporting welding cables without twisting or stressing them. They are also used to prevent the cables’ tearing and fraying. Using reels also saves time when locating cables because everything is stored in a central location.
3. Prevents Unnecessary Accidents
Given the nature of welding processes, the work environment usually gets messy. Accidents are highly likely to occur, causing bodily injury to the welder or damaging welding materials. You can clean up this mess by rolling over and tucking up these long cords of wires on welding reels.
The Disadvantages of Using Homemade Welding Lead Reels
- It consumes a lot of energy and welding time to untuck and unroll cables. This makes it difficult to handle large projects with limited timelines.
- Most of them are not sturdy enough to withstand large loads of welding cables.
FAQs
1. What Is The Cost Of Making A Homemade Welding Lead Reel?
The cost varies due to several factors. However, the quality of the material you intend to use will determine the task’s overall cost.
2. Which One Is Preferable: Manual Or Automatic Retraction?
Both retractions are significant, depending on the welding processes. Manual retractions are useful for DIY welding processes. Their downside is that it consumes a lot of time and energy.
On the other hand, automatic reel retractions are vital for large welding projects since they save time and energy. They can also be dangerous to the welder if it retracts faster.
Final Thoughts
The process of making a welding lead reel is simple and straightforward. These types are economical and suitable for a home-garage or small workshop welding procedures. Even though it will take some effort to assemble all the required raw materials, you will end up saving a lot of money in the long run.
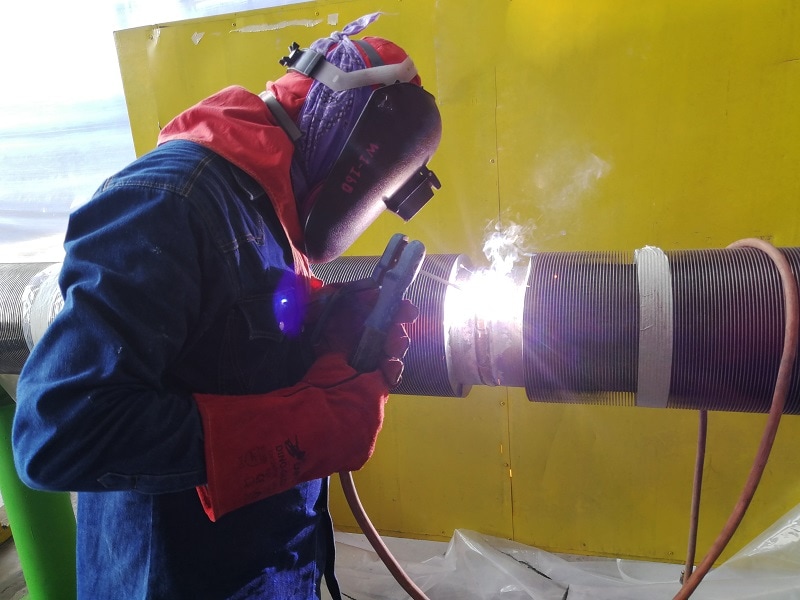
Featured Image Credit: Radomir, Shutterstock