How to Fix Rust Holes without Welding - Easy Step-by-Step Guide
Last Updated on
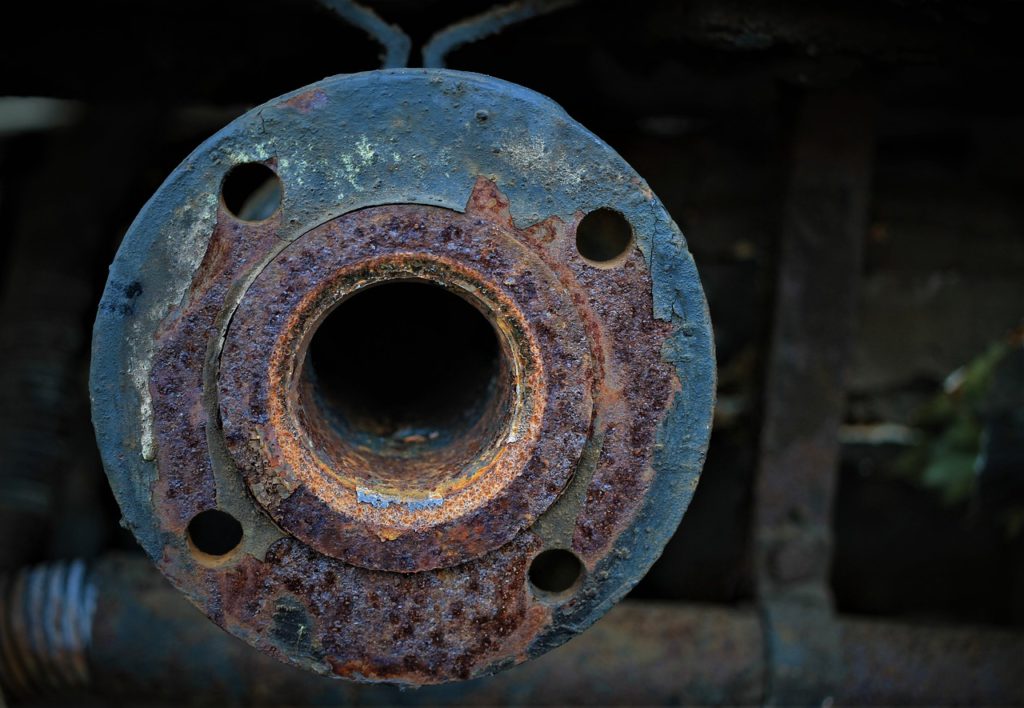
When water comes into contact with naked metal, rust forms on the metal surface. If not checked, the rust will eat its way into the metal creating an aperture. A rust hole impairs the metal’s structural uprightness.
You need a bonding material that’s as potent as the metal if you want to repair a rust hole on metal without welding. Two-part epoxies have been developed for this aim. If applied on a pure surface, the ultimate repair will no longer be noticeable after painting.
Besides epoxies, you can also fix rust holes using metal mesh and fiberglass sheets. In this article, we shall discuss how to fix rust holes using fiberglass and metal mesh. We’ll also look at how to use two-part epoxies.
Before we discuss the step-by-step guide on how to fix rust holes without welding, let’s first understand the term “rust.”
What is Rust?
Rust is the outcome of an innate procedure in which the iron in metals comes into contact with water and oxygen. It causes it to degenerate and corrodes. Oxygen and iron are attracted to each other since they have opposite charges. It’s as if they’re magnets.
If they unite, it’s known as oxidation and the chemical reaction generated leads to the formation of ferric oxide (rust). Typically, it’s black or red in color and the rusting procedure is usually faster in some conditions where it’s introduced to acids, chemicals, or an alteration in temperature.
Why is Rust Such an Issue?
Not only is rust unappealing to look at, but also leads to deterioration of the metal. Rust also makes the metal feeble, crumbly, and flaky. It implies that the metals are changed from being some of the most potent materials on earth to the most feeble.
It makes it a serious issue for everything from cars to guns, to fabricating gear, boats, metallic structures, and trains.
Items You’ll Need to Fix Rust Holes without Welding
- Bond glass fillers or body fillers
- Metal mesh
- A pair of gloves
- Sunglasses
- Sandpaper
- Fiber glues
- Spatulas
- Fiberglass
9 Steps to Follow When Fixing Holes Using Fiberglass and Metal Mesh
Fiberglass and metal mesh can be used to fix rust holes without welding. Before you begin the procedure, make sure that you have all the things you need. The process won’t be complete if there’s an item missing. You can either order the materials you need online or purchase them from dependable sources.
1. Remove the Rust Around the Hole by Sanding It
Take the sandpaper and rub it around the hole. In this way, you’ll get rid of all the rusted parts. Wiping it is necessary; otherwise, you won’t have a sleek surface, similar to the new one. You can do it manually or via orbital sanders.
If the rust hole is large, then an orbital sander is the best bet. Alternatively, mount the sandpaper to the drill appliance, and then use it to wipe the rust.
2. Cut Around the Damaged Spot Slightly
If you think cutting around the worst spot won’t do any harm, then give it a try. For this purpose, you can use a saw or cutter. It relies on the material type you’re cutting.
3. Fill the Hole Using Metal Sheets
Now, you can fill that space using metal sheets. You can either put it on top of the rusted hole or affix it in. If you’ll cover the rusted hole using fiberglass resins, then you have to grasp it as you’re covering.
It can lead to rashes on your skin and, therefore, ensure you’re donning plastic gloves as you fill the holes. If you don’t wear gloves, the fiberglass will stick to your hands.
Also, you can add some plastic for reinforcement. It helps hold the fiberglass and metal sheets together. After applying the plastic, add another stratum of fiberglass glue on top of it.
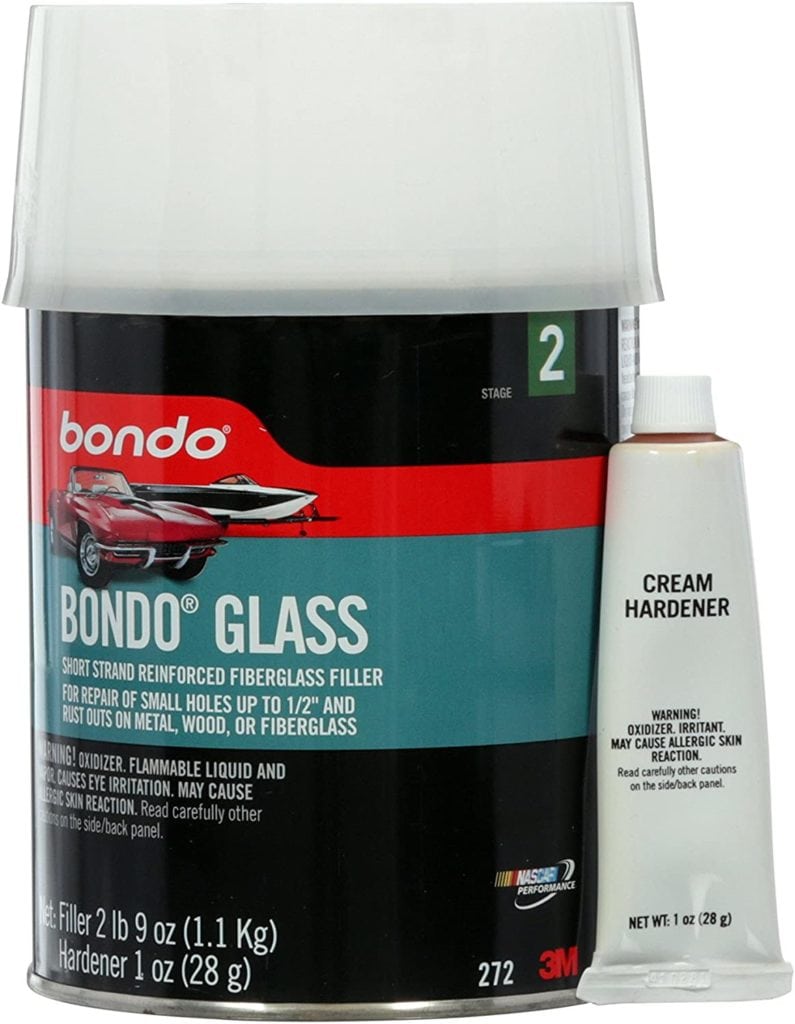
4. Add Bondo Glass Stratum
Use a spatula to fix the Bondo glass fillers. Bondo glass layering is a thick version of fiberglass. It’ll attach the fiberglass and metal sheets, and at the same time, give it a more superior appearance. In terms of appearance, the Bondo glass filler is similar to the plaster of Paris.
5. Sand the Spot
After you’re through with the above processes, give it half an hour to desiccate completely. Now, it’s time to shape it. As you affix all these things together, remember to adjust the orbital sander to a velocity of one hundred rotations so that you can get the job done quicker.
As soon as you have your preferred shape, ensure that you clean off the dust and only begin the sanding step once you’re sure it’s completely desiccated.
6. Utilize the Bondo Body Filler That’s Within the Accepted Range
Once you’re through with the other processes, apply the normal Bondo Body filler to make it more potent. Repeat the same process; as soon as it has desiccated, make sure that you sand it using sandpaper or orbital sander.
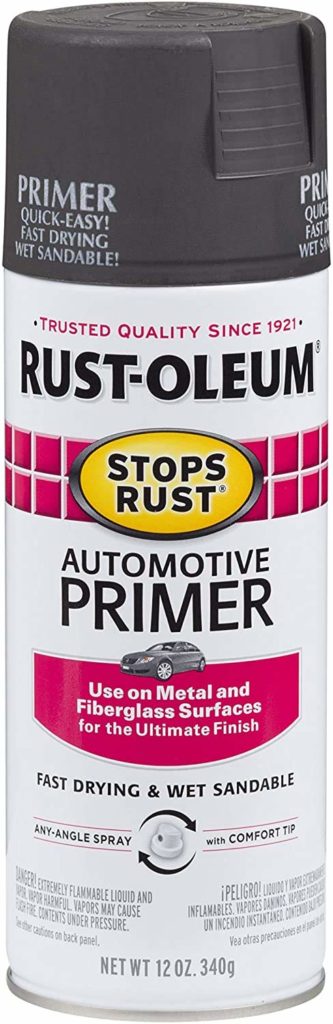
7. Use Automobile Primer
For body structures made of steel or iron, the automotive primer is the best bet. You can purchase it from any large departmental store or mechanic’s outlet. Priming is necessary. If you don’t prime, your metal piece won’t appear great even after getting rid of the rust.
8. Paint the Spot
To color the Bondo appearance on the metal part, use metallic paints. Make sure that you use premium quality colors. High-quality colors will ensure that it doesn’t rip off or make your metal rusty once again. One coat isn’t sufficient and, therefore, you should apply two or three coatings of the spray.
9. Finally, Give it a Metal Wax Coating
The final step in this procedure is to utilize metal wax. Ensure that the spatula or cloth you’ll be using to polish is desiccated. When it comes to applying metal wax, don’t use a damp spoon. It’s because the coating has a water stratum and, therefore, the metal will start oxidizing again.
Don’t skip this step because waxing is a requisite. The main purpose of waxing the metal is to prevent any further damage.
Step-By-Step Guide on How to Use Two-Part Epoxies
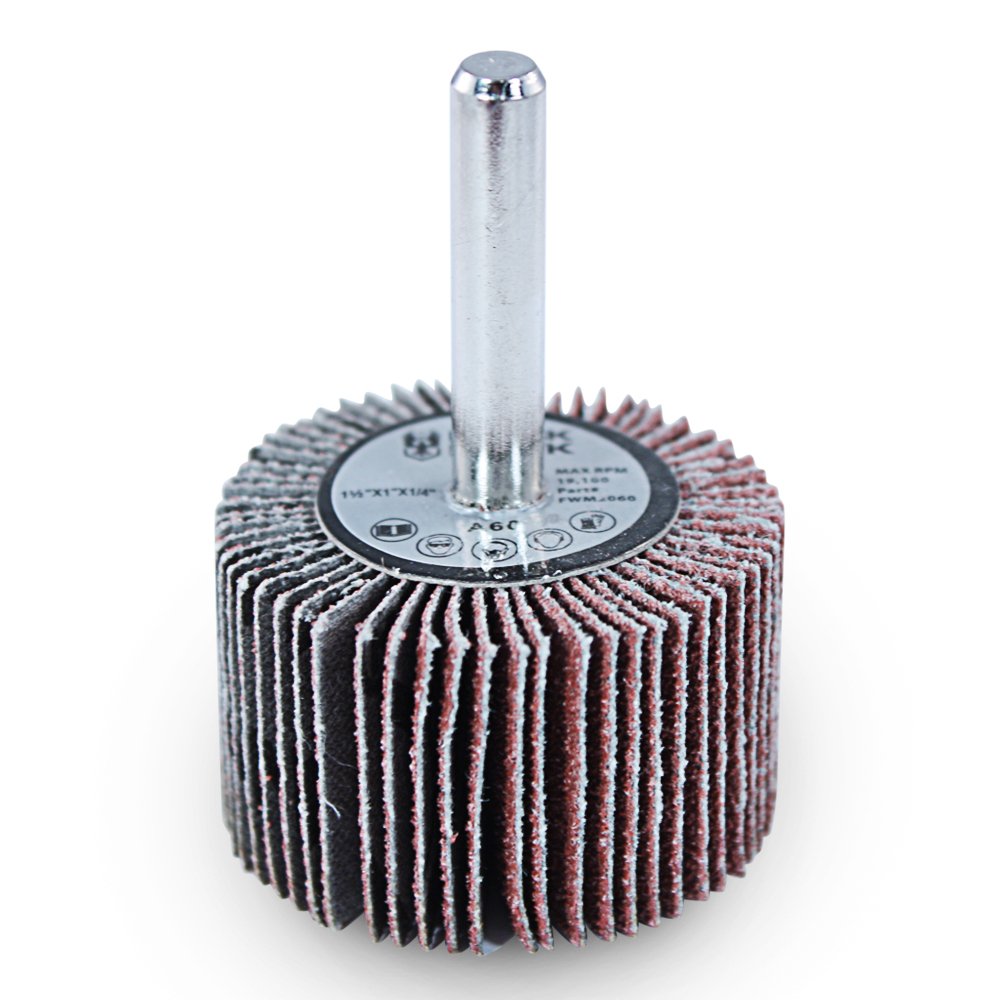
1. Use a Flapper Wheel
Affix a flapper wheel with 60 grits onto a 4.5-inch long angle grinder, and then, don your security glasses. By pulling the trigger on the angle grinder, run the rotating 60-grit flapper wheel above the metal’s corroded hole.
As you sand the oxidation from the metal surface, the rust damage is uncovered. Also, there’s a possibility that the corroded hole that you want to fix may grow bigger.
2. Clean It Using a Rag
Clean the sanded metal surface using a rag. It’ll help to get rid of sanding dirt and rubble from the metal surface.
3. Thoroughly Amalgamate Two-Part Epoxy Putty in Equal Parts
Blend sufficient two-part epoxy putty to cover a region that’s more than twice as big as the rusty spot you want to fix. Amalgamate the two-part epoxy in phases if the area you’re fixing is too big. By doing so, you’ll have time to apply the epoxy before the other one hardens.
4. Apply It on the Rusted Hole
Put the blended two-part epoxy on the metal region you’re repairing. Then, using your thumbs and fingers, apply pressure on the epoxy putty and work it onto the metal surface. Ensure that air doesn’t remain between the metal surface and the two-part epoxy.
5. Let It Cure
Let the two-part epoxy get treated for the period stated in the epoxy directions on the connection.
6. Detach the Flapper Wheel
Ensure that you’ve removed the 60-grit flapper wheel away from the 4.5-inch angle grinder. Then, on the angle grinder, affix a flapper wheel with 80 grits.
7. Sand It
Use the 80-grit flapper wheel to sand the treated two-part epoxy. This allows the rust repair to blend with the metal surface.
Get Rid of Rust Effectively
To stop rust, you need to frequently check and carry out maintenance on your vehicles, boats, or any other metallic structures. When you perceive little spots of rust forming, apply a verified rust and oxidation inhibitor instantly, as directed by the maker.
Getting rid of rust areas by applying a rust-resistant covering above them will halt the corrosion procedure.
You might also like:
- How to Repair Wrought Iron without Welding
- How to Fix an Exhaust Leak without Welding
- How to Bond Aluminum without Welding
Featured Image Credit: Pixabay