20 Farm Welding Projects To DIY Today (With Pictures and Videos)
Last Updated on
If you have a farm or large property, you probably handle most of the maintenance yourself. However, the equipment you need to maintain the property will also need care. Many of these projects are geared toward equipment repairs, but some focus on constructing valuable items. A good welder must be able to fabricate as well as repair. Check out these farm welding projects for inspiration.
The 20 Farm Welding Projects Are:
1. Kindling Splitter
| Materials: | Flat bar, tee bar |
| Tools: | Welder, grinder, vise |
| Difficulty: | Moderate |
Bend pieces of flat bar in a vice to make a circular shape and then weld together the ends of the flat bar. These pieces are the top and bottom of the splitter frame, supported by two pieces of tee bar. Another smaller tee bar the length of the inside diameter of your cylinder will become the base of the blade of your splitter. Two more pieces of flat bar, the same length as the tee bar, are welded onto the sides. The blade itself is a piece of flat bar that has been sharpened with a grinder. This is pretty straightforward and will help ensure you don’t have wood pieces flying everywhere when you’re splitting!
2. Backhoe Bucket Repair
| Materials: | 7018 electrodes or filler wire for MIG |
| Tools: | Welder, grinder, carbon arc |
| Difficulty: | Easy |
This is an excellent example of how to do a simple repair on a piece of farm equipment. This backhoe bucket has a tooth that broke off. In order to replace it, you have to grind off all of the old welds and reinforcement to a clean and smooth surface. You can also carbon arc gouge if you have the equipment. It will save you time as opposed to grinding. Fill back in the gap with weld, replace the tooth, and weld it back on. The important thing to realize about farm equipment is that if it gets a lot of use, it will likely break again. Many repairs are temporary, and this is totally acceptable for this application.
3. Three-Point Hitch for Two Bottom Plow
| Materials: | Tube steel, steel plate |
| Tools: | Welder, grinder |
| Difficulty: | Moderate |
This video demonstrates how to weld up a three-point hitch for a plow that attaches to a trailer. In this case, the plow did not come with a hitch. The hitch is comprised of a piece of tube steel and a couple of pieces of bent steel plate with holes where it attaches to the trailer. The welding is very easy since it is all in position.
4. Padding Beads
| Materials: | Steel plate |
| Tools: | Welder, grinder |
| Difficulty: | Easy |
What does this have to do with welding on farm equipment? This is one of the most practical skills that you can learn to weld on farm equipment. Sometimes, a piece of equipment breaks, and the only way to fix it is by cleaning up the surface and filling the gap with weld before you can reattach a piece. By practicing on an old piece of scrap, you can ensure that you will be prepared when it comes to doing a real repair.
5. Hardfacing
| Materials: | Steel plate |
| Tools: | Welder, grinder |
| Difficulty: | Easy |
Related to padding beads, hardfacing is the padding of beads on material that is often subject to wear. Materials like excavation buckets take a real beating over time. Hardfacing is a solution that can help extend the life of the bucket. Certain welding electrodes with wear-resistant metals can be welded onto the workpiece. In many cases, you cannot weld these types of metals directly onto the base metal. Instead, weld a standard mild steel rod (like E7018) and then use the special electrodes. This video is a great introduction to hardfacing.
6. Trailer Hitch Repair
| Materials: | Pipe, steel plate, paint |
| Tools: | Welder, grinder, oxyfuel torch |
| Difficulty: | Moderate |
This demonstrates how to repair a broken trailer hitch rather than replacing the entire axle. Using an oxyfuel torch, remove the broken parts and grind everything down flush. Then cut a new piece of pipe to replace the old and cover the holes up with new cover plates. Then it’s just a matter of welding everything out and ensuring it’s all enclosed. Since this will be used outside, you don’t want water on the inside if you can help it, but you can paint it to prevent rust.
7. Livestock Gate
| Materials: | Tube steel, hog paneling, hinges, steel plate for end caps (optional) |
| Tools: | Welder, magnetic squares, grinder |
| Difficulty: | Easy |
This gate is designed for a pigpen, but you could use it as a gate to a vegetable garden, patio, etc. The frame is built from tube steel with one cross beam also made of tube steel. In order to prevent having to weld on end caps to the tube steel, you can miter the ends of your tube steel at 45 degrees. Once you have the frame built, weld on the proper dimension of hog paneling with some small tack welds to the frame. There’s no need to overdo it here, especially if it’s galvanized, because you don’t want excessive fumes. Then you can paint it and hang it to a post with simple hinges.
8. Pipe Fence
| Materials: | Pipe |
| Tools: | Welder, Grinder, cutting torch, saw |
| Difficulty: | Moderate |
Anyone who’s worked with fitting up pipe knows how difficult and downright complicated it can be. To form pipe joints, you must cope and saddle the pipe according to its size. In some cases, it has to be perfectly flush. For example, it is hard to fill larger gaps if you are TIG welding. With this pipe fence that you can build on your farm, you don’t have to saddle or cope pipe at all. The pipe slides through precut holes in the posts and is welded around the joint.
9. Forklift Extensions
| Materials: | Channel, flat bar/plate |
| Tools: | Welder, grinder |
| Difficulty: | Easy |
If you have a pile of junk that you’re trying to move on your property or just a large piece of defunct equipment that you’re trying to move, some forklift extensions might come in handy. With some simple pieces of c-channel cut to the desired length of your extensions, you will be well on your way. Flat bar is welded to the channel so that the forks will stay inside the extension
10. Steel Rack
| Materials: | Tube steel, plate, pipe, bolts, nuts, washers |
| Tools: | Welder, grinder, torch, impact wrench |
| Difficulty: | Moderate |
This steel rack is essentially three upright pieces of tube steel with three more pieces of tube steel angled upward welded onto the side, forming the shelves. The three larger sections are connected with pieces of pipe that have plates welded on both ends for mounting with bolts. This rack would work perfectly behind your shop but even better on a job site.
11. Rocket Stove
| Materials: | Plate, tube steel |
| Tools: | Welder, grinder, miter saw |
| Difficulty: | Easy |
A rocket stove is an efficient way to burn wood. It also makes a killer camping stove as well. This design uses a piece of tube steel with a hole cut out of the side, which is the same size as the dimensions of the mitered side of the upward-facing piece of tube steel (the video shows a piece of pipe, but the author says that it’s because he ran out of square tubing). Put your fuel in from the side and cook up the shrimp dish recipe included. Just place the pan right on top!
12. Metal Wagon
| Materials: | Aluminum tubing, aluminum sheet |
| Tools: | MIG and TIG welder, sheer, roller, sheet metal brake, saw, sander, hand file, lathe |
| Difficulty: | Difficult |
Two bent pieces of aluminum tubing form the top lip of this wagon, and they are TIG welded together. Then, the same piece is used to draw a template on an aluminum sheet which will then be bent to form the base and side of the wagon. A steel frame is attached to the bottom side with bolts to make it sturdy. This wagon would be great for working outside in the garden. You could even take the kid for a ride if you feel so inclined.
13. Planter Box
| Materials: | Angle iron, roofing panel, expanded metal |
| Tools: | Welder, grinder, miter saw |
| Difficulty: | Easy |
Mitering the ends of pieces of angle and tacking them together to make a simple frame is the focus of this project. Of course, once you have everything in place, you will need to weld it out. A piece of expanded metal is cut to size for the bottom part of the planter for drainage. The pieces of galvanized roofing panel are simply placed on the inside without welding so that replacement is easier. The weight of the drainage rock and dirt will hold them in place. Be sure to work from the inside of the expanded metal out to the edges to prevent a bow in the middle.
14. Fire Pit Kit
| Materials: | Fire pit kit |
| Tools: | Welder, grinder |
| Difficulty: | Easy |
You won’t believe how easy this project is. This pre-cut fire pit kit is for sale. All you have to do is fit it up and weld it yourself. Since there’s not a ton of prep required, you might not even have to use your grinder! Just be sure that once you’ve fit up the pit portion itself that it fits properly with the base. Fabrication accidents do happen! This pit is extremely lightweight, which is much better than the bulkier firepits you can buy at the hardware store.
15. Agricultural Equipment Repair
| Materials: | Depends on the exact project |
| Tools: | Welder, grinder, clamps |
| Difficulty: | Moderate |
This is not a specific project as much as it is a skill you need to learn if you are working on farm equipment. Thus far, we’ve discussed various projects that are more outdoor-oriented, but this plan has a specific agricultural application. In this video, you will see several essential principles of how to perform agricultural repairs correctly to ensure that your equipment will not need repair for a long time to come. Make sure you have clean surfaces and avoid slug your welds. All of these factors are foundational to learning how to repair agricultural equipment.
16. Trailer Repair
| Materials: | None |
| Tools: | Welder, grinder, carbon arc gouger |
| Difficulty: | Moderate |
If you haven’t tried your hand at carbon arc gouging yet, you should give it a try. This is one of the handiest skills to have when doing weld repair. Carbon arc gouging can remove old welds and damaged base metal in just a fraction of the time it would take to grind out the whole thing. In this case, you can see the final result of weld repairs on this old trailer. The base metal and some of the old welds had cracks in them. By gouging out the old broken material, there is room for the new weld to replace the damaged parent material.
17. Industrial Style Metal Handles
| Materials: | Rebar, flat bar, square tubing |
| Tools: | Vise, drill, saw, centerpunch, welder, grinder |
| Difficulty: | Easy |
Here are three different models of industrial-style metal handles you can use for your shop or shed door. They are relatively simple to put together. The first two utilize pieces of rebar for the handles, which are then welded to mounting plates with predrilled holes. The third one is made from two small pieces of square tubing welded perpendicularly. This is then attached to a mounting plate. The welding is not too difficult, especially since they will be ground down flush.
18. Triangle Dinner Bell
| Materials: | Chain, lock washers, rod steel, wood, karabiner |
| Tools: | Torch, saw |
| Difficulty: | Moderate |
Bending a piece of rod steel is easy with a rosebud tip on an oxyfuel torch and a vise. This comprises the triangle, which is then hung from a piece of chain. The chain is attached to the triangle with a welded lock washer. The triangle is left intentionally open on one corner so the ringer can be hung on it. The ringer is a simple piece of steel rod with a lock washer welded on the end.
19. Feeding Stand for Goats
| Materials: | Tube steel, plastic barrel |
| Tools: | Welder, grinder, saw |
| Difficulty: | Easy |
If you need a feeding stand for some of your livestock, look no further. This design is made from a frame of tube steel which is easily welded together. Then, half of a plastic barrel is placed as the feeding trough inside the frame. If you are concerned about the health of your animals, a harder plastic like this is probably a better option than metal. When you build your frame, ensure that the barrel is tight enough. Otherwise, it will have too much slope and not be stable.
20. Fabrication Table
| Materials: | Angle iron, steel plate |
| Tools: | Welder, grinder, cutting torch |
| Difficulty: | Easy |
What’s farm welding fabrication without a fabrication table? This project is incredibly easy to build. The legs are four pieces of angle iron tacked to the bottom of a steel plate of your desired dimensions. The steel plate becomes the tabletop. The legs are then joined by four cross braces made of angle iron. Once all your tacking is complete, go ahead and weld it out!
Summary
Most welding projects on the farm involve learning how to repair equipment correctly. Buttering, hardfacing, carbon arc gouging, and grinding – are techniques that are essential to save you time and money in the long run. One important note is that many of the videos we have shown you do not exhibit the best safety practices. Always wear safety glasses, a welding hood, gloves, leathers (where necessary), ear protection, and any other PPE required for your project.
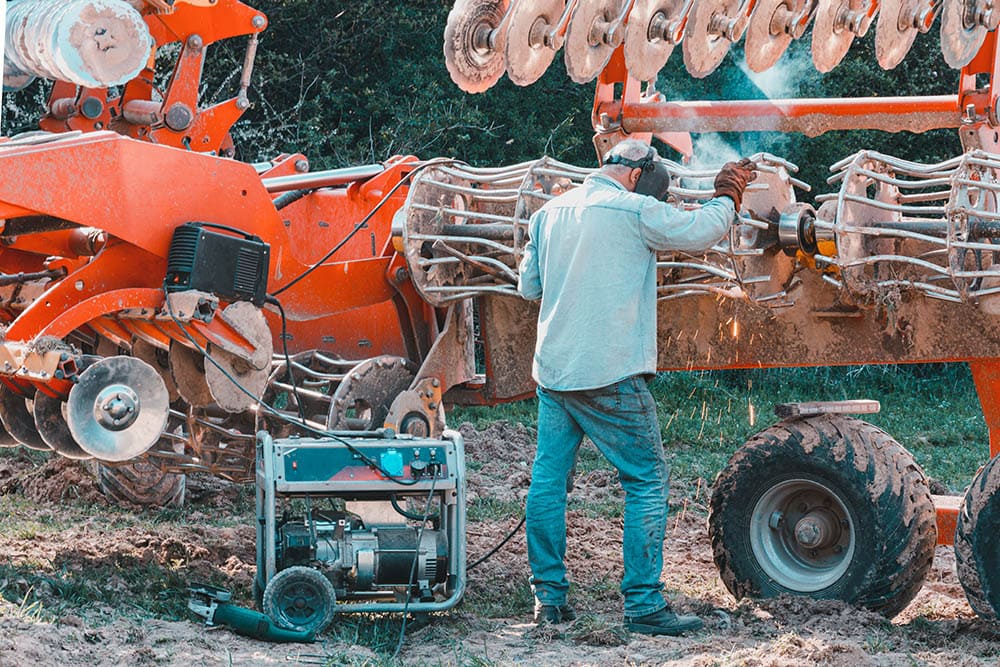
Featured Image Credit: Andrii Anna photographers, Shutterstock