How to Test an Auto-Darkening Welding Helmet: 7 Quick Steps
Last Updated on
Why is it necessary to test your auto-darkening welding helmet? Remember, the motto is: safety first. A welding helmet is a mandatory protective gear, whether you are embarking on a small or big project. Remember that welding exposes you to intense heat and harmful ultraviolet light that can cause fatal injuries if you assume the safety standards.
Did you know that the same helmet that should be protecting you can harm your eyesight and general health in equal measure? There are several ways to test your auto-darkening welding helmet to find out if is in good shape.
Since the market is flooded with an array of auto-darkening welding helmets, choosing the most suitable one can be a painstaking experience.
How to Test Your Auto-Darkening Welding Helmet
Before we get to the testing steps, let’s look into a few ways to test your auto-darkening welding helmet. Of all the numerous ways, these four should be convenient since all you need are natural resources or primary home devices.
1. Sun Test

The sun emits rays that are perfect for testing the quality assurance of your auto-darkening helmet. It has been used over the years and has proven to be reliable.
Just wear your helmet and go outside. Stand in the sun for a few minutes with the sensors facing the sun. Now, focus on the lens and see if there is any reaction. Reactive lenses will darken, and this is a sure sign of a good helmet. If you do not detect ant change, your helmet is likely to be faulty.
2. Strike an Arc
Put the helmet to test and give it a welder flash by striking an arc. Not everyone is always comfortable with this method since it exposes them to the risks involved in welding.
To test, start by putting on all the safety gear you need and take all the necessary precautions to ensure that you are safe. Put on your auto-darkening welding helmet and use the welding equipment available to strike an arc. Check if the lens’s reaction is effective. Striking an arc is the best way to test your helmet since you will be using it for this.
3. IR Remote Control Test

Auto-darkening helmets have lenses coated with UV and IR protection layers.
- Use any household item such as a TV remote to do the test. Here is an example of how to do it with a TV remote.
- Wear the helmet and point the remote straight at it
- Focus the remote’s light diode towards the helmet’s lens
- Press any key on the remote
- Check to see if the helmet will automatically switch to the dark mode
- Do not use remotes that emit RF and pulsed signals because they will not work.
4. Cigarette Lighter Test
Using a cigarette lighter is an unconventional method, but it works pretty well. Take the cigarette lighter and ignite it, then point the flame towards the auto-darkening welding helmet sensor. Wait for the results; the shades should change.
Step 1: Sensitivity and Delay Control Test
Auto-darkening helmets have arc sensors that control the different shades within the helmet. Check if your helmet features have the delay and sensitivity controls because these two are the most critical settings of any auto-darkening helmet.
After locating them, try adjusting the settings as you check to identify any changes. Since the helmets can respond to slight variation, conform if the helmet adjusts appropriately to prove its functionality.
Also, most helmets marketed as auto-darkening welding helmets always have a delay feature that allows you to avert getting flashed. Confirm if this feature is keeping the lens dark.
Step 2: Clarity Test
The testing for optical clarity of an auto-darkening welding helmet is non-negotiable. Ensure that the helmet’s clarity satisfies you. This is probably the most straightforward test because it involves wearing the helmet and checking for clarity by looking through the lens. If you want to strike an arc, it will allow you to have better confirmation of the helmet’s clarity.
Step 3: Auto-Darkening Filter Test
ADF plays a crucial role in protecting your eye from damage by enhancing the welding helmet’s usability. It limits the amount of light allowed to pass through the lens by automatically adjusting the shades for maximum protection.
Use one of the testing methods mentioned above to test for ADF.
Step 4: Safety Test
All auto-darkening helmets must meet all the safety standards to ensure that each welder is protected and safe from welding-related accidents or injuries. All auto-darkening welding helmets must meet the ANSI Z87.1-2003 standards. You can confirm this by asking from your store of purchase or researching the helmet’s certification detail.
A good auto-darkening helmet must have the following features and properties.
- Complete UV and IR protection
- Infrared Filter
- Impact-resistant
- Withstand temperature between 23-130 degree Fahrenheit
Step 5. Lens Test
Lens reaction time is also known as the switching speed; that is the time needed for the lens to darken. The ideal reaction time for any auto-darkening welding helmet is 1/2500ths of a second, even though some helmets might take a little longer.
The risk behind a delayed reaction time is that it exposes you to the risk of getting injuries from sparks that can be too large for the helmet to handle as fast as possible. Lens tests are as simple as putting on the helmet and using the different test methods. Ensure that the lenses’ reaction time is not noticeable with changes in light intensity or park size.
Step 6. Power Test
Auto-darkening welding helmets usually have a solar panel and lithium batteries as their power source. Some helmets use replaceable batteries, while some use replaceable batteries. Others use solar-assisted with a battery pack.
Since it is challenging to check battery defects, ensure that they give you a warranty card when purchasing the helmet. For solar helmets, go outside and confirm if it is charging when the solar panel detects the daylight.
Step 7. Grind Mode Test
Some auto-darkening helmets have grind mode switches or buttons that allow you to activate auto-darkening. Press on the grind mode button or flip the switch. Remember that the auto-darkening shade lens can only work when the grind mode is off, and always remember to switch off grinding mode when you want to weld.
Final Thoughts
The steps mentioned above are useful factors (principal) for both beginner and professional welders when testing an auto-darkening welding helmet. There are other factors (minor) such as weight and impact resistance, but it is always important to test your auto-darkening welding helmet to know if it is working before using it.
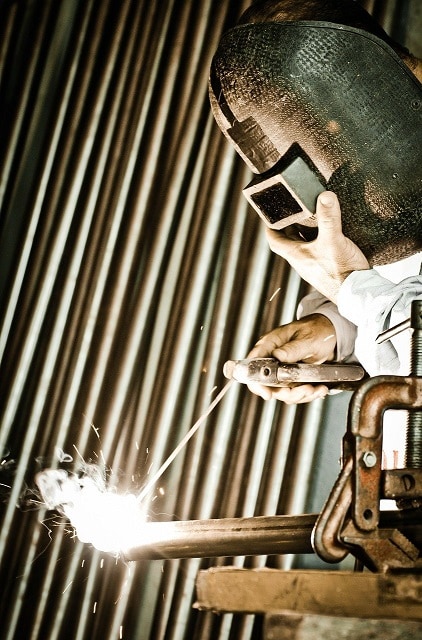
Featured image credit: trapezemike, Pixabay