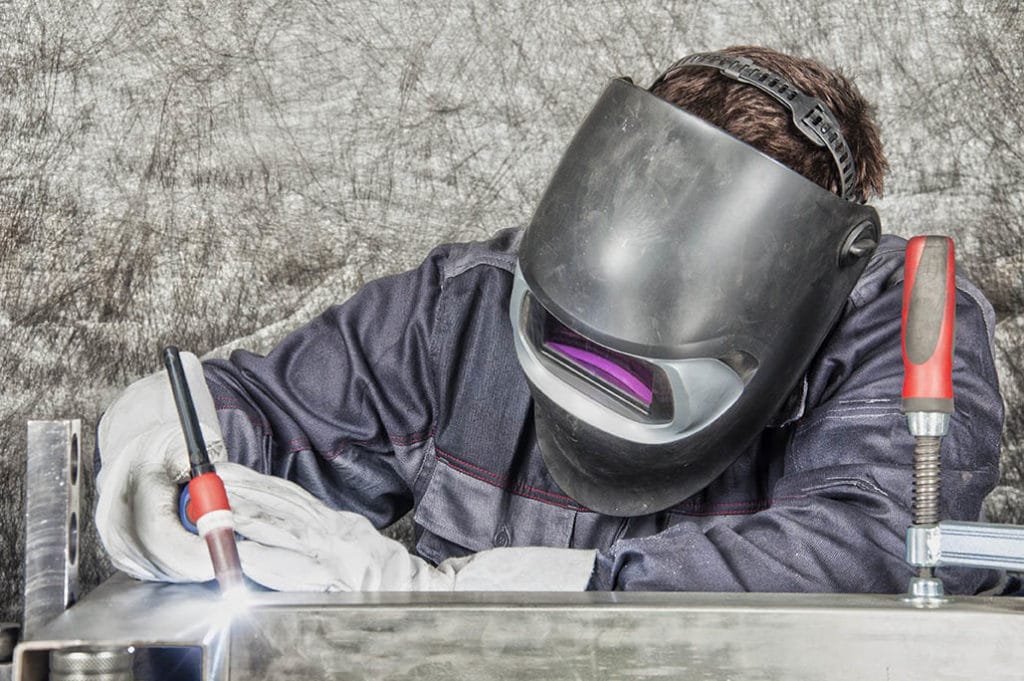
What Shade Lens to Use for MIG Welding
Last Updated on
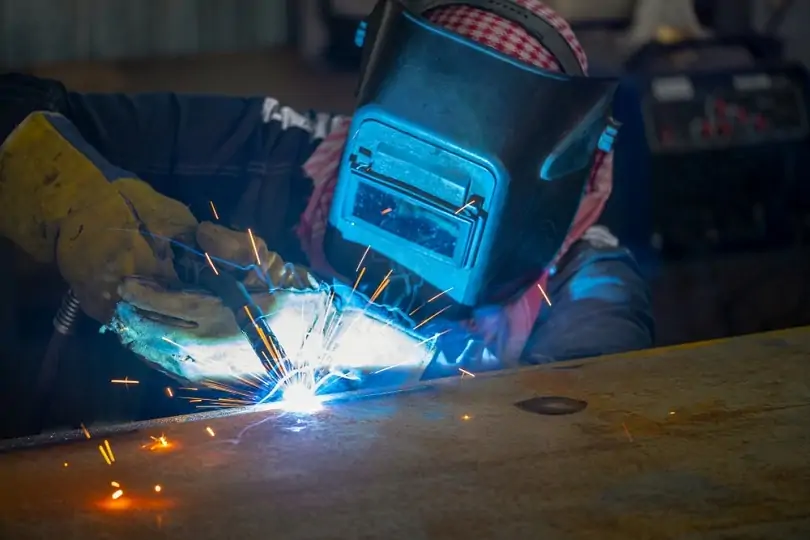
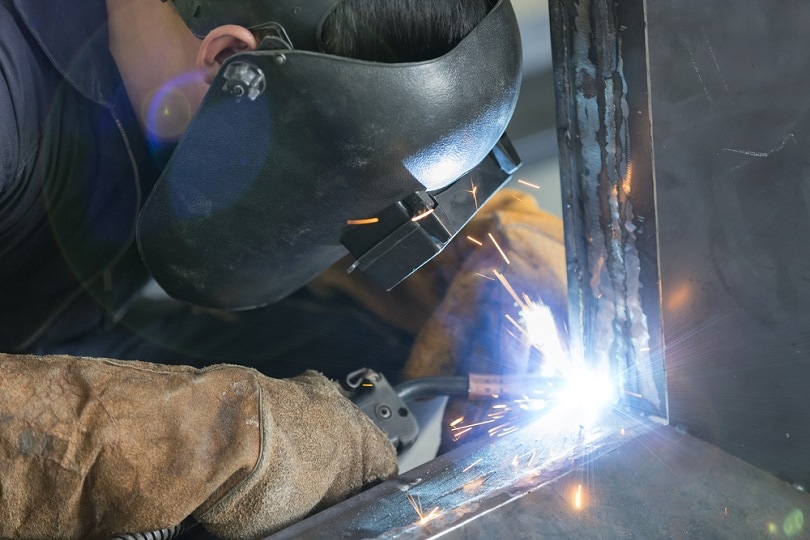
Among the essential items in a welder’s protective equipment kit is a shade lens. Having the appropriate shade lens will protect a welder from radiations, spatters, and sparks produced during welding.
According to the US Consumer Product Safety Commission report, over 10,000 eye injury cases are reported in the USA annually. A large number of these cases are related to welding.
How to Determine the Safety of your Helmet’s Shade Number
Before putting on a helmet and relying on it to protect your eyes, ensure it fulfills its purpose. Always validate the specifications indicated on the helmet by checking its mark of quality. Among the simplest ways of validating is to check whether the helmet meets the ANSI Z87.1 standard.
This standard provides the criteria that all welding helmets should meet to be categorized as safe for welding functions. Refrain from picking helmets that lack this qualification.
Factors To Consider When Choosing A Lens Shade
1. The Lens Reaction Time
Lens reaction time is the duration taken by the lens to switch from regular to protective shade. For a simple lens shade, the reaction time is estimated to be about 1/3,600 seconds. The more advanced and robust lenses have a reaction time estimated above 1/20,000 seconds.
2. Arc Sensors
Most welding helmets come with fitted arc sensors within a range of 2 to 4. The sensors measure the light in the surrounding. Getting a helmet with over 3 sensors will ensure accurate measurements, especially when dealing with various lights within the vicinity. A helmet with 2 sensors is sufficient for simple work, but MIG welding requires helmets with more sensors.

3. Fixed or Variable Shade of Lens
Welding lenses come in two forms, fixed and variable lenses. The fixed lenses usually darken to a single shade and are usually fitted on passive welding helmets. The variable lenses are the most widely used due to their ability to darken to various shades.
A fixed shade lens suffices when working on a simple project like welding a single material with a single process. For complex work, such as MIG welding, use a variable lens.
4. The Level of Amperage
The shade of the lens varies with the amount of amperage in your welding session. The more the amperage, the darker the lens you will be required to use. The darker lens will have the power to filter out more harmful radiation light produced due to using a higher amperage to weld. For light welding, which uses low amperage, lighter shades lenses are appropriate.
5. The Shade Number
Different lenses have different shade numbers depending on the type of welding. For MIG welding, for example, welders would typically need lenses ranging from shade 10 to 13. Such shades tend to filter most radiation light compared to a lens with a lower shade number.
Factors to Consider when Determining the Best Shade Number
1. The Type of Metal
The type of metal you intend to weld will determine the shade number in that, different metals have different arc intensities. For this reason, the amperage for welding will vary between the metals.
2. Eye Sensitivity
Do you have any pre-existing eye defects or general health issues? You will need a green light from your doctor before you even set foot in a welding zone. In the case of eye sensitivity, visit an ophthalmologist before settling on a welding lens.
3. Amperage
As explained earlier, the more the amperage, the darker the shade of lens needed. Begin by first ascertaining the amps you are working on to understand the shading number to pick.
How to Choose the Right Lens Shade
Choosing the right lens can be a daunting task, especially for beginners. To make the selection process seamless, you need to know the type of welding material, the amperage, and the lens shade. Here is an overview of the shade of lens to use when welding mild steel at different amperages.
- MIG mild steel welding with 80 to 100 amps use a lens with shade 10
- MIG mild steel welding with 100 to 175 amps use a lens with shade 11
- MIG mild steel welding with 175 to 300 amps use a lens with shade 12
- MIG mild steel welding with 300 to 500 amps use a lens with shade 13
At the very minimum, when welding using less amperage and thinner steel materials, use a lens with shade 10. On average, welding ¼-inch of mild steel in a single pass needs roughly 180 amps.
Welding Flux Core using MIG with different amperages requires the lens shade as shown below.
- MIG Flux Core welding with 125 to 175 amps use a lens with shade 10
- MIG Flux Core welding with 175 to 225 amps use a lens with shade 11
- MIG Flux Core welding with 225 to 275 amps use a lens with shade 12
- MIG Flux Core welding with 275 to 350 amps use a lens with shade 13
Flux Core welding using MIG is known to burn a lot brighter at lower amperages, hence requiring a stronger shade of lens.
When welding aluminum using MIG, below are the shades of lenses to use at different amperages.
- MIG aluminum welding with 80 to 100 amps use a lens with a shade of 10
- MIG aluminum welding with 100 to 175 amps use a lens with a shade of 11
- MIG aluminum welding with 175 to 250 amps use a lens with a shade of 12
- MIG aluminum welding with 250 to 350 amps use a lens with a shade of 13
Occasionally, you may have welders whose eyes are too sensitive to take the bright light from MIG welding completely despite using a shade 13 lens. You can quickly know their struggle if they suffer from dry and slightly burnt eyes regularly. For such employees, get them the darkest shade welding lens.
These lenses come with shade 14 and are usually purchased separately from the welding helmets. They have enhanced abilities to filter out close to 98% of the radiation light and are usually custom ordered.
Interpreting Welding Lens’ Shade Number
The Deutsches Institut für Normung (DIN) rating refers to the German Industrial Standards used for categorizing light filtering levels. Whenever the DIN number goes up, the lenses darken and block more radiation light from passing through. For example, most auto dark lenses have a mild base level of DIN between 3 or 4. The mildness is to enable you to see your work vividly without having to lift your hood repeatedly.
A DIN shade 3 level will allow around 15% of visible light to pass through the lens. On the other hand, a lens with DIN shade 4 level is three times darker than that with DIN 3. These lenses are known to allow only 5% of light to be transmitted.
Auto Dark Helmets vs. Passive Helmets Lens Shade
You can choose to use an auto dark or a passive helmet lens shade for maximum eye protection. Here is an overview of these two.
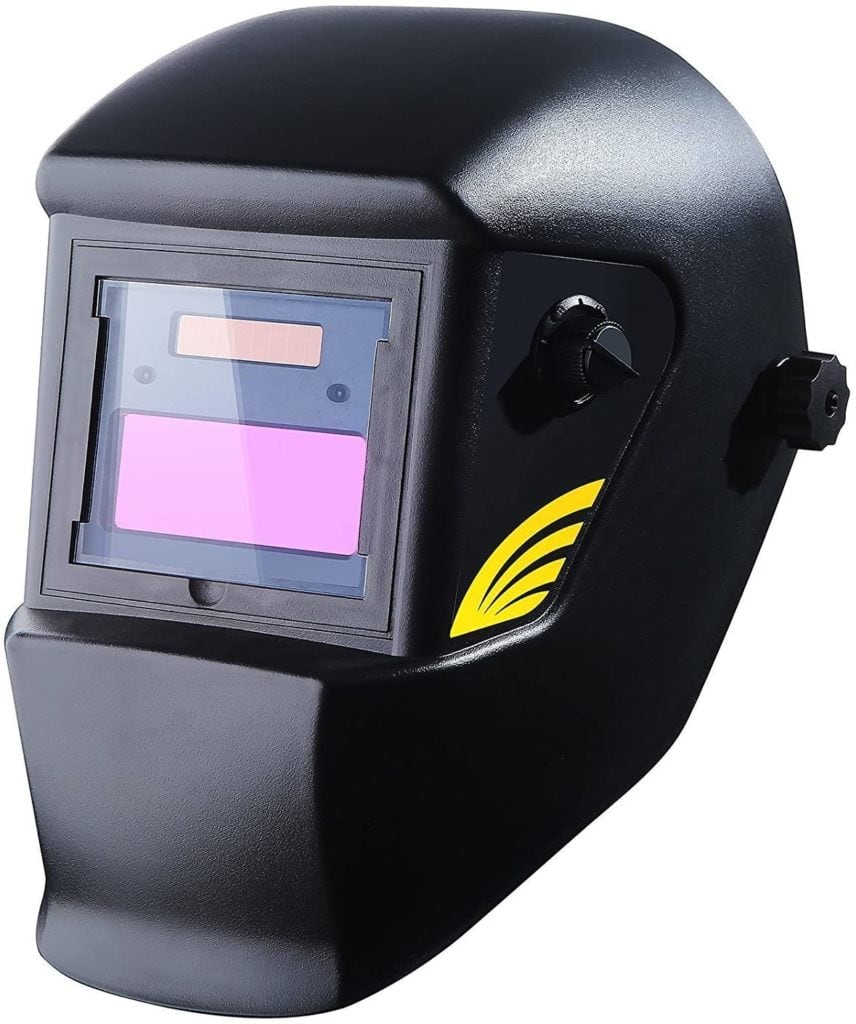
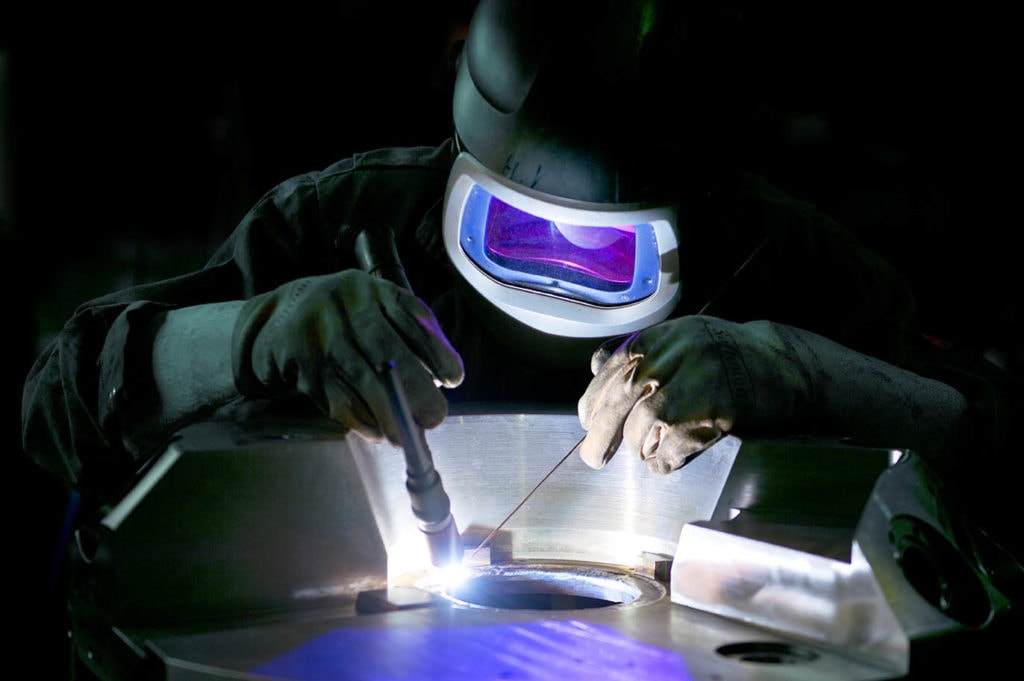
1. Auto Dark Welding Helmet
These helmets, also known as Auto Darkening Filter (ADF), do not usually contain a lens. They function via controlled sensors fitted at the front of the helmet. Whenever welding flash hits the sensors, they automatically darken the shade to the required level of darkness. The switching occurs swiftly and is estimated to have a turnaround time of about 1/12,000 of a second.
Among the benefits of using an auto dark welding lens is the ability to continuously wear your helmet during welding. This ability saves you the hassle of having to flip the lens up and down amidst welding, which can be tiresome. The helmet is also widely preferred when doing many short welds compared to using passive welding lenses.
The only disadvantage of using an auto dark welding lens is that it gets triggered easily to darken by flashes of light from other welders nearby. For this reason, a welder is required to work in a large working space. The large space may be impractical, especially if you are working on a single weld.

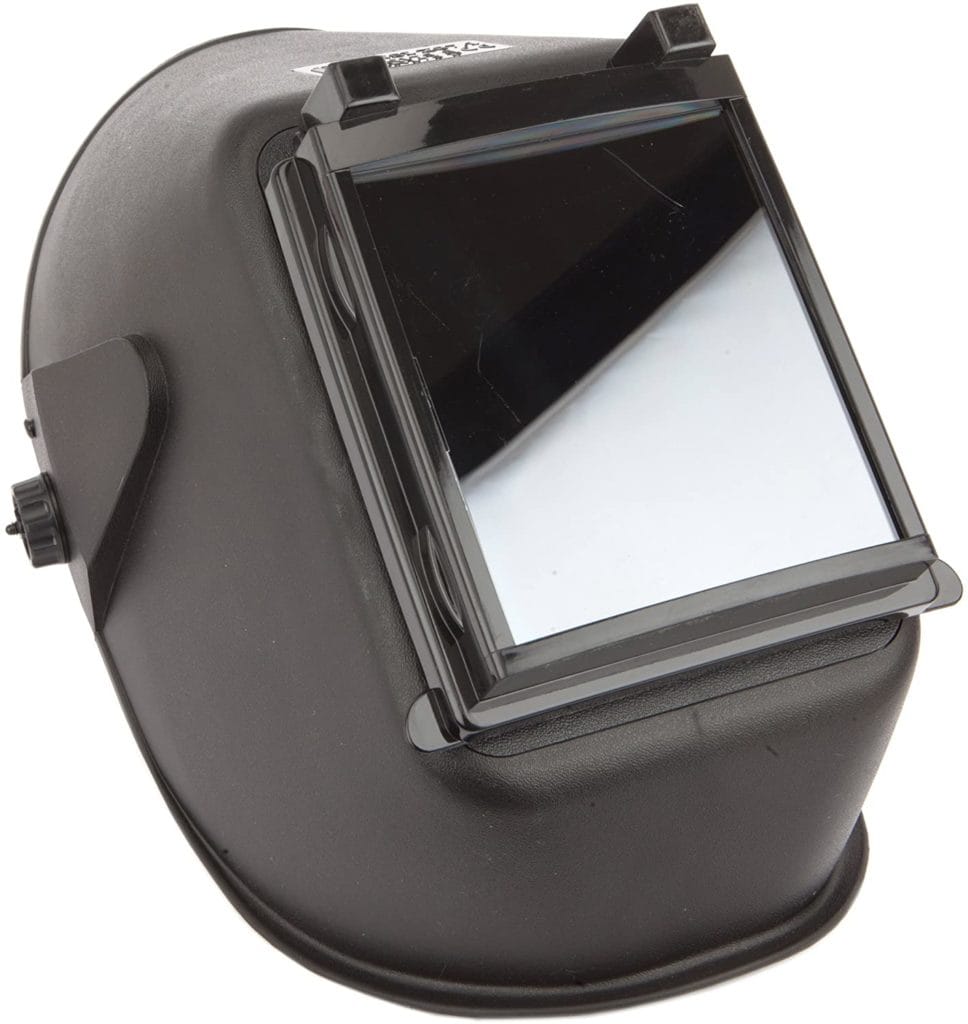
2. Passive Welding Helmet
A passive lens is usually made from a glass or plastic piece coated to a specific level to help the lens filter out light. The benefit of using these helmets is that they always stay dark, making them ideal for long passes. Passive welding helmets also do not rely on sensors or batteries. This feature eliminates the risk of burns caused when batteries or sensors underperform. The only downside about using these helmets is that you will be moving your hood repeatedly, which is tiresome, especially when doing short passes.

Factors to Consider when Using Welding Lens
1. Check for Cracks
During MIG welding, accidents are not out of the question. Should you drop your helmet, a hairline crack on the lenses may develop. The light it lets in will end up burning your eyes and face without you realizing it.
Often welders check for cracks on the lens and forget the helmet. A good number of welders will ignore cracks in the helmet or try to patch it up with a piece of duct tape. Patching up will only provide a temporary solution to holding the crack from spreading, but it will not prevent the harmful light from passing through.
2. Test your Auto Dark Lens
Most auto dark lenses come with a battery on them to power up the sensors. From time to time, these batteries run out of charge, reducing the shade of the lens. Once the batteries are completely drained, the shades become functionless.
To fix this, constantly test your battery by pressing the auto-darkening filters button on the helmet. The button signals if the ADFs in your helmet are working and show the battery’s power level.
The other DIY way of testing if your lens’ sensors are operating is to use infrared rays (IR) from an ordinary television’s remote control. During welding, the helmet sensors are usually triggered by the IR from the welding arc. The helmet’s sensors can also be triggered by IR from the television’s remote control. Once the helmet’s sensors detect the remote’s IR, the sensors automatically swing into action and darken the lens. This method effectively determines the helmet’s sensors’ ability to pick signals from sideways, below, and above.
3. Always Wear your Helmet Appropriately During Welding
During welding, ensure your helmet is all the way downwards, probably against the front of your chest. Inappropriately wearing the helmet will allow light to be indirectly reflected off the table to shine up the hood. This indirect reflection can burn you with equal measures to the directly reflected light leading to an arc or welder’s eye. Get a hood that fits your head appropriately to save you from burns caused by using shorter helmets.
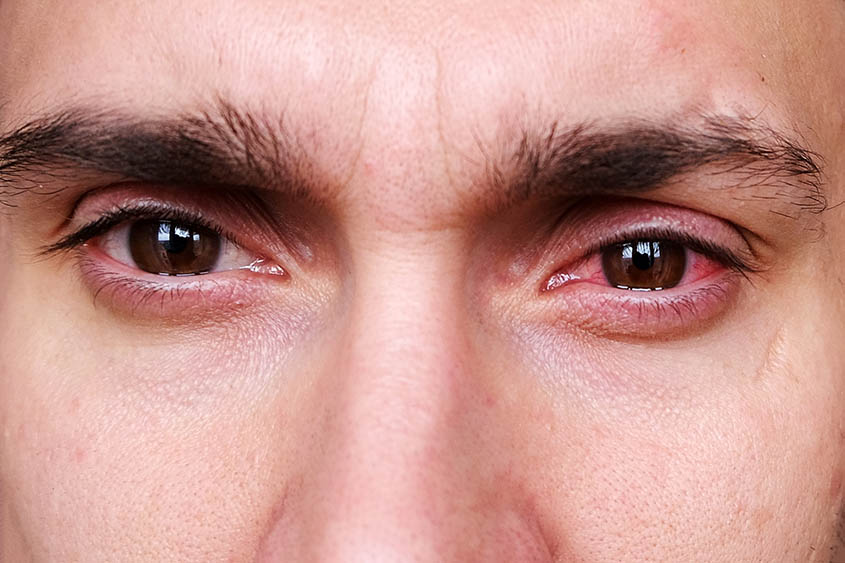
The Symptoms of Arc Eye
An arc eye is a condition that affects a welder’s vision as a result of damage caused by flashes of light from MIG welding. The UV light may damage the surface and mucous membrane parts of a welder’s eye. The result leads to conjunctivitis or an arc eye, whose main symptom is inflammation of the conjunctiva.
Other symptoms of an arc eye include:
- Bloodshot — tearing and reddening of the eyes and the membranes
- Having sandy-like sensations in the eye
- Abnormal sensitivity to light
- Partial photophobia due to the inability to look at sources of light
- Pain that tends to become severe if not treated immediately
FAQs
What Is The Durability Of MIG Helmets?
Helmets, just like other welding items, are prone to wear and tear. The helmet’s life span will be determined by how you use it and the amount of care you give it. Some welders can use their helmets for up to 3 years, while others cannot get past 1 year due to poor maintenance.
Can You Weld With Shade 5 Glasses?
Welding with shade 5 is usually sufficient for light work. If your activities involve arcs such as MIG welding, shade number 5 is unsuitable. The shade is not dark enough to protect your eyes from the IR of the arc.
Why Can’t I See Through My Welding Helmet?
You can have your helmet set at the most optimum level and still experience poor visibility. The poor vision could be a result of dirt formation on your helmet’s lens. To enhance visibility, ensure you clean your helmet regularly and store it in a place free from dust and other impurities.
How Do I Know My Auto-Darkening Helmet Is Working?
You can conduct a sun test. Using your helmet, look at the sun directly. You will be able to see how your lens adjusts to the increased light intensity.
Final Thoughts
Putting on a good helmet with the right shade number is not just the welders’ duty. The responsibility also lies with the supervising and the subordinate team. When selecting the most suitable helmet shade number, start with a higher number as you advance to a lower one. By doing this, you will determine all your welding zones precisely, consequently leveraging the production of quality welds. Ensure you do not go below the minimum shade number, which is 11.
Featured Image Credit: Danil Evskyi, Shutterstock