How to Fit Pipe At Home for Welding (3 Tips & Tricks)
Last Updated on
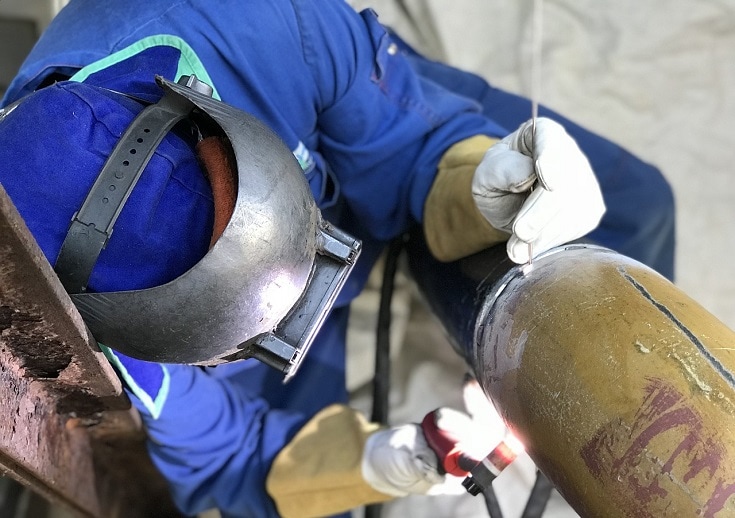
Pipe welding is a complex task that typically involves joining two curved metals together. The process can be accomplished through the various welding techniques, including TIG, MIG, and arc welding. Thick and heavy-duty materials are usually used in this process, and the open nature of the weld means perception and precautions are very necessary to achieve full penetration. Early preparation is necessary for any welding project.
1. Follow This Procedure for Fitting a Pipe
Below is a step-by-step procedure to fit two pipes before welding.
- Assemble the pipes to be fitted and place them on your working desk. Ensure you check the pipes’ thickness since it is among the major setbacks to the fitting process.
- Clean and bevel the pipes before cutting their ends. Begin by cleaning both pipes from the internal to the exterior to remove impurities from their surfaces. While beveling, ensure you do not exceed 1.5 mm from the pipe’s edges and done from the outside. You can then proceed to cut the beveled edges to ensure easy fitting.
- Use a measuring tape to ensure the depth of the pullout section is precise for the fitting process. Having the correct measurements will lessen the effort of fitting the pipes.
- Keenly observe the fusion to make sure the fitting is according to the script. Before fusing, make sure you have checked the workpieces’ thermal properties to determine if they are compatible. If you are using dissimilar pipes, you will be required to wait for additional minutes for the assembly to have the same temperature.
- Begin fitting while placing the thermic element vertically to the pipes being fitted. While fusing the pipes, hold them firmly to avoid unnecessary rotations. Keep holding them until the heating time elapses.
- You can remove the molds once the heating time elapses to allow the assembly to cool. Exercise great caution to avoid turning the assembly during and after welding.
- Apply some pressure on the cooling workpiece to get a uniform weld.
2. Avoid Common Mistakes
From the pipes designed for oil and gas applications to the high-pressure ones for food and beverage industries, welders are faced with numerous challenges during the welding processes.
Below are some of the areas to look into to avoid the common mistakes welders commit:
- Proper Tacking - Proper tacking is an essential process during pipe fitting. Cutting out the tack enhances the final weld’s reliability. Any fault on the metal filler will affect the entire tacking process, which helps mitigate this problem.
- Grind The Joint During Weld Preparation - This is a common problem among welders. Welders generally use oxyfuel or plasma for material preparation, and these processes create an oxide layer on the cut edge. This layer must be eliminated before welding. Consequently, the oxides can lead to porosity and other malfunctions.
- The Drive Roll - The decision on the type of drive roll to use depends on the welding process. The wire you will be using will determine your choice of a befitting drive roll. For instance, if you are using a standard V drive roll, solid wires will work best. Copper-coated wires, on the other hand, work exclusively with groove drive rolls.
- The Flow Rate Of The Shielding Gas - The fallacy that using more shielding gas is a perfect solution for protecting the workpiece has traveled far and wide among welders. A high rate of shielding gas wastes money and leads to problems like the convection effect, which ultimately causes porosity. Use a regulator flow meter to regulate the shielding gas rate. Moreover, welders and operators are required to follow the recommended flow rates strictly.
3. Properly Test Your Pipe Welding
Testing is necessary to evaluate the pipe welding’s strength or weakness. It also considers the quality of the work done. Some of the methods used in testing pipe welds include:
- The Liquid Dye Penetration Test - This test involves spraying a dye on a metal surface and then giving it ample time to seep. As soon as the surface dries up, all the faults that were invisible become apparent. Compared to the visual inspection method, the liquid dye test is price friendly and useful.
- X-Ray Testing - The method is mainly used in tasks where weld quality is essential for safety purposes. Just like the x-rays done on human beings, this test is purely performed by experts. Amazingly, it is the most effective test that welders use in testing pipe welding.
- Macro Etch Testing - Macro testing entails cutting a piece of welded metal, polishing it, and applying a small amount of acid solution. With this, you can analyze properties such as porosity, inclusions, cracks unsoundness, pinholes, and hydrogen flakes.
After considering all the necessary factors, the final step is to fit the pipe for welding. The process begins by mounting a metal cut-off on a radial arm saw. The saw arm is then raised or lowered so that the center of the shaft is at the same level as the pipe. Grinding is then done until the two fitted pipes are ready for the welding process.
Summary
The pipe welding process may seem complicated, but with adequate preparation, you will achieve a perfect finish. With regular practice, your skills will keep improving. Implementing the tips above will ensure your success and safety on your next project.
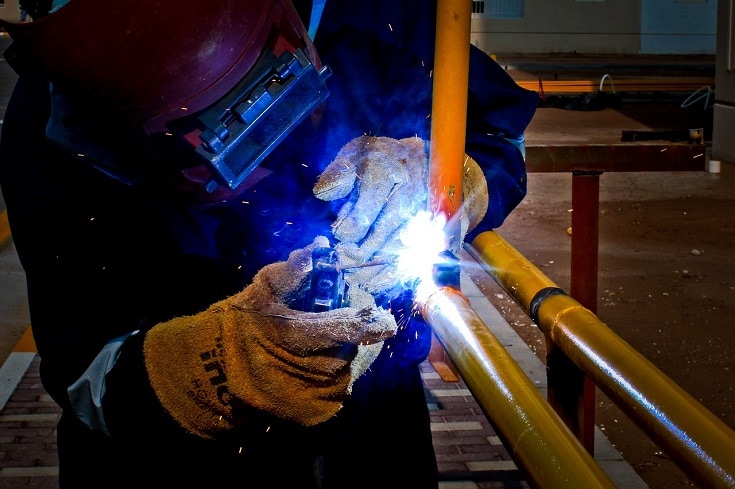
Featured Image: saldahnae, Pixabay