How to Paint a Welding Helmet (4 Simple Tips & Tricks)
Last Updated on

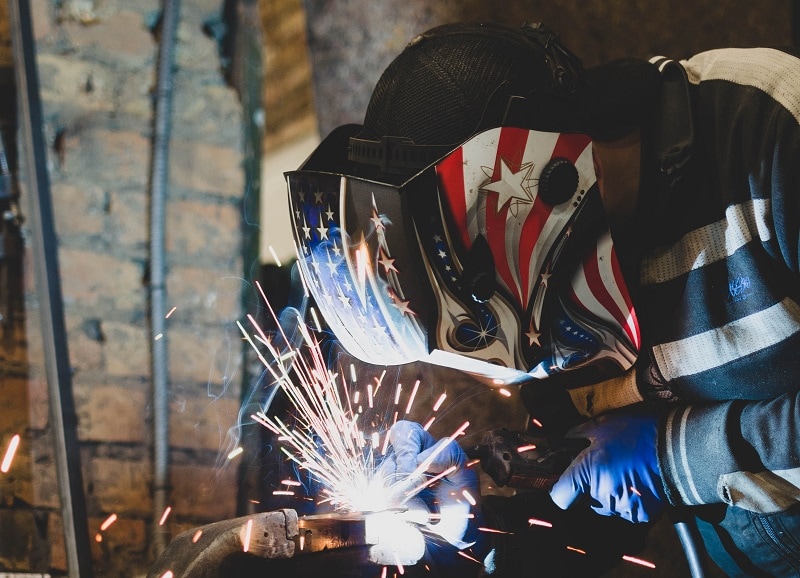
Since many welding helmets are available in dark black and matte grey, you can paint your welding helmet to appear more fashionable and eye-catching. As soon as you’ve decided to paint your welding helmet, the question that follows is, how will you go about it?
It doesn’t appear like a bright idea to throw it in a paint bucket. In this article, we shall give you a step-by-step guide on how to paint your welding helmet. Let’s dive right in!
Decide on Your Design First
Before you start to paint your helmet, you should have a design in mind.
For instance, if you would prefer to paint a phoenix on your helmet, then ensure that you have suitable colors. Purchase some stencils if you’re not sure of how to draw it yourself.
Collect Materials
Before you begin, you need to collect the required materials:
- A welding helmet
- A fireproof primer
- A crystal-clear coat of fireproof paint
- A wheel or paint brush
- A can or bottle of fire-proof paint of your preferred color
Paint and primer must be fireproof. If you’re not using fire-retardant materials, then there’s an increased danger and likelihood of your helmet catching fire as you weld.

Type of Paints You Can Use
As stated above, use paints that’ll get along well with the helmet’s material. Use plastic Krylon, Lexan, or Polycarbonate paints.
The 4 Steps to Take When Painting Your Welding Helmet
1. Detach the Headgear and the Lens
Some people may tell you that detaching the headgear and lens isn’t needed. Most people who paint their welding helmets will just tape off the headgear and lens and begin to paint. The truth is, even if you have attached a tape well, primer and paint can penetrate your headgear and lens easily.
There’s only one way of keeping away from this problematic condition: before you start to paint and prime, detach the headgear and lens. You don’t need to worry – it’s not as hard as it may appear.
Many headgear and lenses will pop out of the welding helmet if you attempt to detach them. It’s fast and easy and will not destroy your welding helmet. Check the instructions manual if you’re not sure of how to detach the headgear and the lens on your helmet.
Each helmet is distinct, and you wouldn’t want to risk destroying your welding helmet. If you have detached these two items, put them aside.
You should put them far from the paints and primers. Of course, you wouldn’t want to fortuitously spray your headgear and lens using paint as it can potentially destroy them.
https://www.instagram.com/p/B-NcQkKjo4o/
2. Undercoat Your Helmet
If you’re ready to begin the painting procedure, start by applying an undercoat to your welding helmet. It only takes a couple of steps. If you haven’t wiped your welding helmet in a long time, then clean it.
It’ll make sure that your welding helmet is in the best possible condition. You can wipe your welding helmet in less than ten minutes. Just use a fluffy, inflexible brush to clean all the dirt and particles. Then, wipe your helmet using some water and a soft garment.
As soon as your welding helmet is completely desiccated, take a wheel or a wire brush and brush, beginning from the front to the rear of the welding helmet. It’ll get rid of any additional dirt or particles that may get glued to your welding helmet.
This procedure assists in smoothing out any paint or shine that may already be on your welding helmet. After wiping your welding helmet well, coat it using a fire-proof primer. While some people say that a primer is needless, it ensures that your welding helmet is in great condition, and this makes the paint last longer.
https://www.instagram.com/p/CHiJluPgt4O/
3. Paint Your Helmet
Lastly, you’ve reached the most amusing step in the procedure of painting your welding helmet!
To begin with, apply a lucid coat to your welding helmet. The coating can be a neutral color, such as white, which facilitates applying your preferred color. Wait for the coating to desiccate so that you can apply the other color.
If you’re ready to paint using your preferred color, just immerse your brush into the paint and apply it using small, fragile, and even movements. Irrespective of the paint type used, it’s crucial to exercise caution when painting your welding helmet.
https://www.instagram.com/p/BgM8wYqFUoO/
4. Let it Desiccate
Allow the paint on your helmet to desiccate for a significant period. It’ll make sure that the paint has stuck to the surface completely. In this way, using the cover coat for an additional shine isn’t at all problematic.
Enjoy Your Welding Helmet’s Customized Touch
Hopefully, you have gained what you needed when learning how to paint a welding helmet. You can do it easily by adhering to the steps we’ve mentioned above. Now, grasp your paint and welding helmet, and begin to give it a customized touch! Painting your welding helmet should no longer be a cumbersome task.
You may also be interested in: 8 DIY Welding Positioner Plans You Can Assemble Yourself
Featured Image Credit: Oleksandr Horbach, Unsplash
