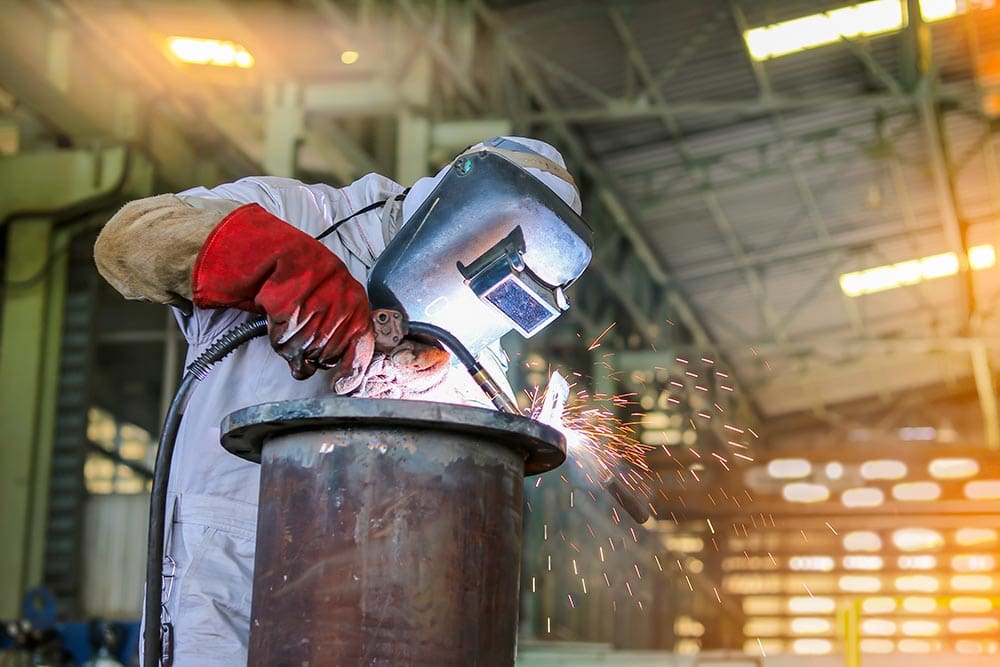
Welding for Beginners: 20 Tips & Tricks to Get You Started
Last Updated on
Welding can be intimidating at first, but if you’re reading this, chances are you are feeling at least a little bit courageous. Here you will find some helpful tips, tricks, and things to keep in mind when starting your welding journey. Even if you’ve been welding for a while already, you might learn a few new facts to take with you on your way.
The 20 Tips & Tricks for Beginner Welders
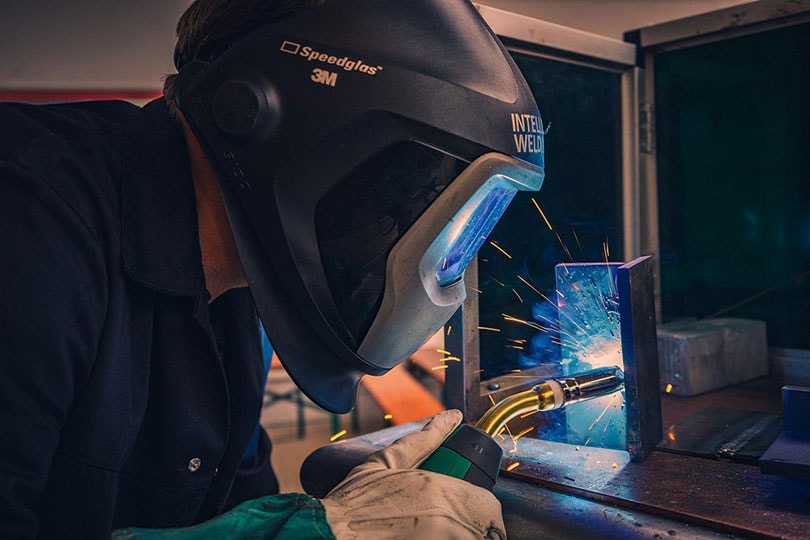
1. Don’t Skimp on an Auto-Darkening Helmet
The prototypical image of a welder is someone hunched over and focused on their work with a hood on. This is the lens through which the welder views the world, and investing in a decent welding helmet is critical. An auto-darkening helmet will do wonders for your welding. If you can’t see what you’re doing, your work will suffer!
2. Change Your Lens, Then Change It Again
Visibility is so important; your eyes are one of your most valuable assets as a welder. If you can’t see the puddle or where you’re going, there’s no point in attempting the weld. And if you need a little extra help, don’t be afraid to use a magnifying lens (cheater lens) if you have to. Wipe your hood down frequently, and you will prolong its life.
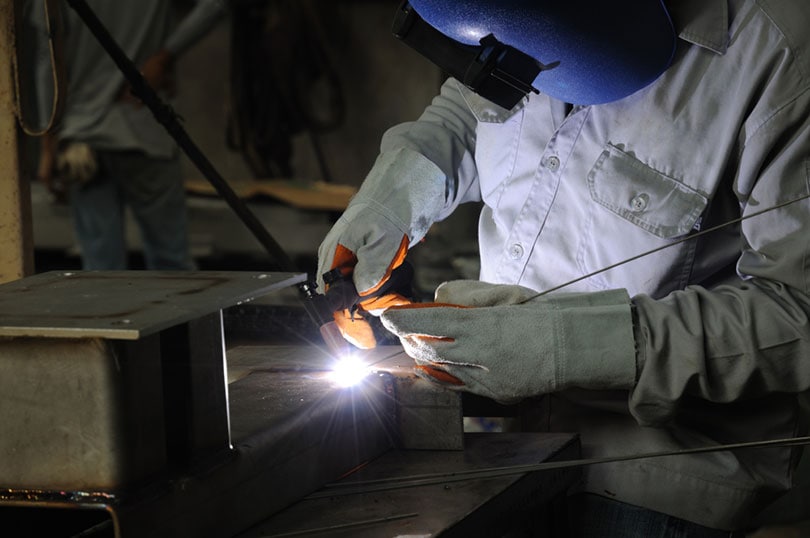
3. Take Care of Your Eyes
Damage to your eyes does not always heal. This is another reason to ensure that your lens is in working condition. Even the smallest amount of light passing through a crack between your hood and lens can damage your vision over time. You will see people in fab shops in the bad habit of tacking without a hood, casually glancing away every time they pull the trigger. Welding without a hood is dangerous and is not recommended; you should only tack with your hood on. The helmet not only protects your eyes but also your skin from the harmful UV rays.
4. Get a Good Slag Hammer
A slag hammer is one of the standard hand tools that the more efficient needle gun has overtaken in some work environments. However, you need a slag hammer in your arsenal. It must be tough enough to handle impacts but comfortable enough to swing.
The quality of the tip is also important. Is it small enough to chip out slag from hard-to-reach places? Is it thick enough to last a long time? This piece of seemingly junky metal that you picked up at the hardware store for next to nothing will easily pay for itself many times over.
5. Get Comfortable Welding Gloves
The level of comfort you feel in your work area will contribute to your results and your enjoyment of welding. Part of welding is the feel, and if you can’t distinctly feel the movement of the welding gun or stinger, it’s going to be hard to make oscillating movements or even to move consistently straight if you can’t feel your fingers through your gloves.
Yes, welding gets hot, but your gloves shouldn’t feel like oven mitts. They also shouldn’t be so thin that your hand is starting to get uncomfortably hot mid-weld. Finding the delicate balance will help you in the long run.
6. Get a Comfortable Seat
Many times, you’ll want to work in a seated position. If you’re welding something flat or horizontally, this can be the most comfortable as you can easily rest your arms on the table and are generally more stable.
You should be comfortable when welding. We’re not talking about getting a La-Z-Boy quality seat for your workshop, but you don’t want your back screaming at you when you stand up.
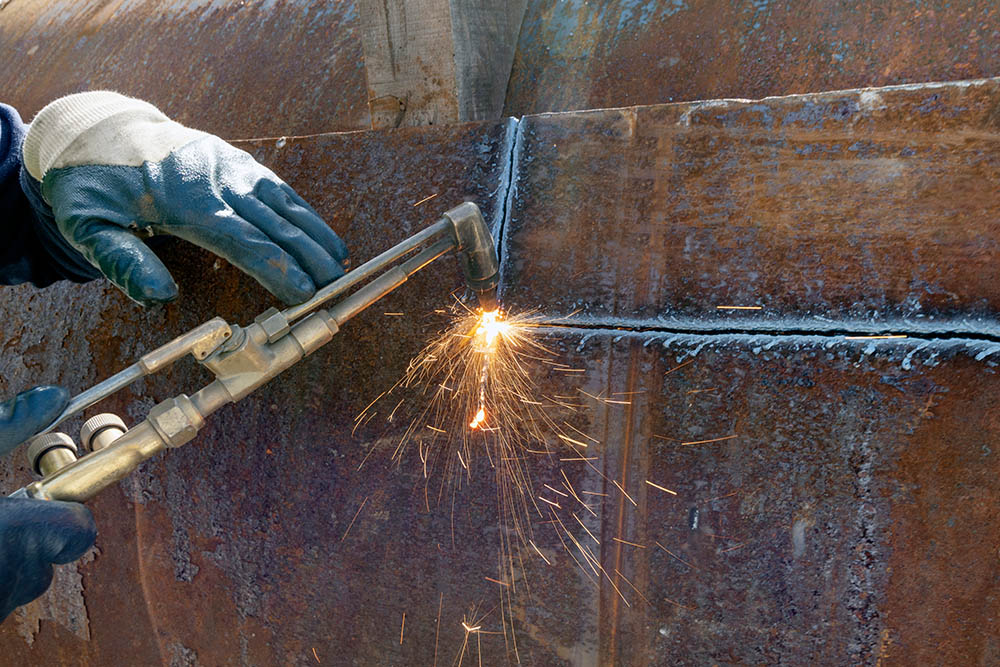
7. Clean Your Material
Different types of welding have a greater or lesser tolerance for dirty material. Structural welding (FCAW or Stick), for example, can handle mill scale, a little dirt, and even some rust. With MIG or TIG, your material needs to be pretty clean.
Regardless of the type of welding, it is good to get in the habit of cleaning your material. You won’t always be able to do this perfectly but take your brush or grinder wherever necessary to clean up the weld zone. You can’t have grease and dirt everywhere and expect a good weld.
8. Learn to Use Your Grinder
There’s an adage in the field that says, “A grinder and paint make me the welder I ain’t!” While this is sometimes used as an excuse to leave shoddy work, this is in large part true. Your grinder is an indispensable tool. You will make plenty of mistakes that require the removal of a sub-par weld. In many cases, you can use a grinder to remove it. However, you can not just flip on the switch and go to town on your material.
If you grind into the base metal, you weaken the material. The grinder should be applied primarily to the weld. A good strategy is to keep your disc as parallel as possible with the base material while simultaneously grinding into the material you’re trying to remove.

9. Don’t Get Lazy with Fitting
There are fewer things more frustrating than a bad fit-up of a component. The fitter’s job is to read the drawings and lay out the pieces precisely. Sometimes it’s not always possible to get it exact. However, fitting is not something you should neglect. Even paying careful attention to how you fit up a T-joint will help you build your fundamentals. As time goes on, simple fit-ups will become second nature to you.
10. Use Clamps
Clamps of all types will quickly become your best friends. They not only help with fit-up by squeezing together material that is having a hard time fitting flush, but they also make nice armrests.
Just clamp one on the side of your workpiece if there’s room, and you can gently lean your hand against it for extra balance. This works incredibly well if you run practice plates to prepare for certification. You can also clamp it to your workbench to route and hang leads over.
11. Hot Tacking
There are going to be times when no matter how much you clamp your material together, you won’t be able to get it flush. With smaller components, this is where hot tacking comes in.
First, you fit your pieces up as flush as you are able. Next, you apply a large tack weld in the gap area to bridge the two pieces of metal together. Immediately upon finishing the tack, grab your hammer and smack the pieces together at the point of the tack. This will make both pieces of metal suck together while the tack weld is cooling.

12. Clean Your Work Area
This is something that seems so basic, but some people still don’t seem to grasp it after years in the field. Having a clean work area is invaluable for comfort as well as productivity, not to mention the quality of weld.
If you have debris all over your table, it can easily find its way into one of your welds, thereby diminishing the quality. If you make cleaning up twice daily a part of your routine, you will have a comfortable area to work in all day.
13. Practice Beads
If you are a newbie starting out in your garage, welding school, or even learning welding on the job, do not underestimate the value of practicing weld beads. Running passes over and over can get tiresome. Even if you are padding a plate with weld, meaning that you’re not welding a joint, you are still working on getting into a comfortable position, keeping a steady hand, and observing the leading edge of the puddle.
Don’t psyche yourself out too much. It’s essential to practice no matter what. This also means running dry passes: running the electrode or gun along as if you were welding but without striking an arc.
14. Practice Sizing Your Welds
Once you start getting comfortable with running decent-looking beads, you must start learning to size your welds. Many people who teach themselves or learn how to weld in vocational school don’t learn how to size their welds properly.
Some people minimize the importance of this, but the truth is that in many cases, excessive reinforcement (piling weld on top of weld) can cause unnecessary stress to the base metal. Getting some fillet weld gauges and regularly measuring the size will help you acquire an eye for the size of welds.
15. Challenge Yourself with Out-of-Position Welds
When you start running beads and learning your joints, you might just be welding in the flat or horizontal positions. Horizontal welding is easier to learn, but if you plan on working in the field, it’s essential to learn how to weld vertically and overhead.
Vertical and overhead welds are what we refer to as out-of-position. You’ll find that your settings for flat and horizontal will need to be changed to account for the different positions. However, one of the best things about getting used to welding out-of-position is that all your welding gets better, including flat welding.
16. Study Your Defects
Defects do not usually happen by accident, whether it’s porosity, undercut, or slag inclusions. Even if the machine is set incorrectly for the type of weld you’re using, the problems you’re having with your weld are usually a result of user error.
This is actually great news! It means that you can carefully note what you are doing wrong and correct it. By “correct it,” we mean figure out how to improve the weld so you can avoid a patchwork repair every time something goes wrong.
If you have an undercut on the top leg of your weld, it may be due to high voltage if you’re welding MIG/FCAW. Lower the voltage a bit and see if that corrects the issue. It also may be an incorrect gun or electrode angle, or you need to adjust your travel speed. It will take experimentation to dial it in just right.
17. Watch Your Arc Length
One aspect that is often overlooked is the length of the arc. Beginner welders are often told to watch the puddle’s leading edge to ensure that it wets out consistently but then neglect to keep the arc length consistent.
When stick welding, for example, the electrode is going to burn down little by little, requiring you to readjust your arm angle to maintain the same arc length so that you can keep the puddle moving.
This is crucial because the puddle size does not always indicate the shape or throat size of the weld. If you keep it consistent all the way through, then you can evaluate what you need afterward.
18. Push or Pull?
“If there’s slag, you drag.” When welding flux core or stick welding, you need to drag your wire or electrode. In other words, you should be able to see the leading edge of the puddle. You’re supposed to drag the bead to ensure that slag does not get trapped underneath the weld itself.
Obviously, this is less of an issue with MIG welding, but if you push with slag, you’re welding over slag. This is not a guarantee that you will have slag inclusions because much of it gets burned up in the atmosphere, but it’s not recommended.
However, there will be times when it’s far easier and almost necessary to push the weld. Is it for additional reinforcement? It’s probably okay to push at a slight angle. But if it’s a root pass in a bevel joint, trapping slag is not something you can afford to do.
19. Repair Things Around the House
Is your trailer or lawn mower deck rusted? You can fix them, and it doesn’t have to be professional-level work. Repairing things around the house is not only good practice with welding itself, but it’s a real-life situation.
Fixing something that you or someone else owns will not only save you money on replacing it, but it will help give you the boost of encouragement you need to keep welding and improving your skills. Let’s face it, running practice plates isn’t exactly thrilling. It’s monotonous, but the task is also a simulation of true welding.

20. Find Various Sources of Scrap Metal
All of your practice would be impossible without material to practice on. Some steel yards sell metal that you can cut yourself at a discount price. It’s certainly a lot cheaper than buying it new; after all, it is primarily for practice.
Another option is to talk to the supervisors at construction sites in your area. They may be willing to sell you some of the scrap on the site, but it can’t hurt to ask if you can take some of it off their hands.
Summary
If there’s one takeaway from all of these tips and tricks, it should be the immense value of practice. Practice also requires patience, however. There will be days when you are laying down beads perfectly and other times when you just feel like you’re in a funk.
Not to worry! If you have successful days where you feel accomplished, try to write down why you were successful. Maybe it was your machine settings or how you prepared your material. If you keep a mental or physical log of activity, then you will have an easier time building on your successes.
Beginner Tips & Projects:
- 12 Easy Welding Projects for Beginners to Try Today (With Pictures)
- TIG Welding for Beginners: 14 Tips & Tricks to Get You Started
- Flux Core Welding for Beginners: 7 Tips & Tricks to Get You Started
Featured Image Credit: il21, Shutterstock